#Create a basic paywall
After this short introduction to Poool and our Dynamic wall solution aka Access, we can now
achieve our first paywall experience (* maximum excitement *).
We recommend using a local server and a simple
index.html file to achieve this
guide, but online coding tools like CodePen or JSFiddle also work (although you
can't use cookies inside these tools' iframes — you'll be granted a new
identity on every visit).#The content
Assuming our html content is:
#The code
We now only have to add a few lines of code to create a new paywall inside our
#paywall element that will hide the content inside our .content element.As you can see, we are using the
Access.js script.After initializing it with an appId, we pass various parameters in the createPaywall function to create the wall:
- target: div where the wall has to be embedded
- content: div where the content to block is located
- mode: method used by Poool to lock the content
- percent: percentage of text you want to be hidden/stripped
- pageType: type of the content to be locked
We invite you to read carefully our docs to understand each paramater.
Alternatively, you can load the
Access.js script in async mode and wait for the script to be fully loaded before trying to use it:That will result in a premium article locked by a wonderful, non-customized and non-optimized paywall:
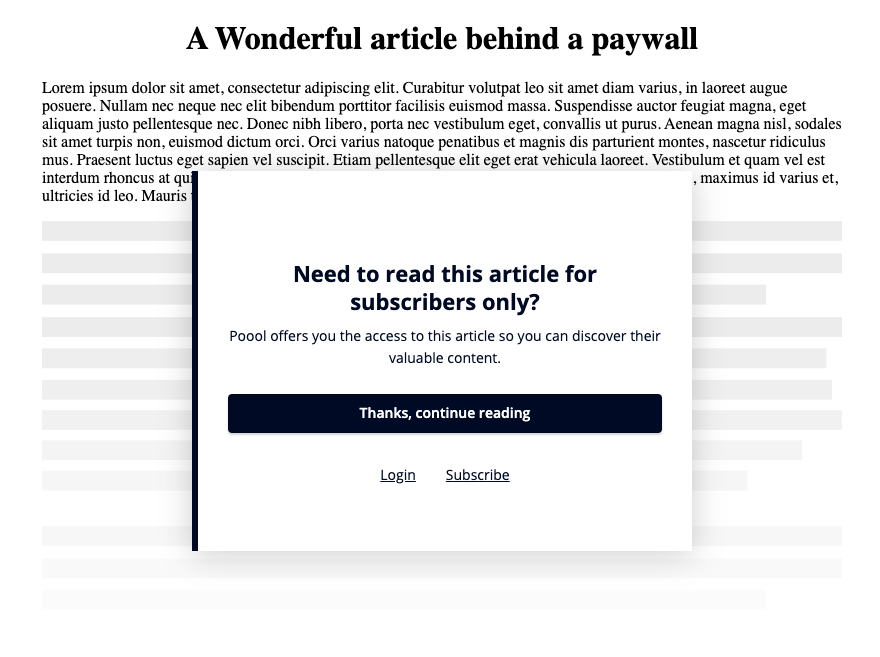
And we're all set! ✨ As you can see, only a few lines of code (even fewer than the example above) are necessary to create a really basic premium experience from the ground up. In our next guide, we will discover how we can achieve the same result on front-end frameworks like React, Angular or Vue.